
Integrate your directory with Stripe to process your payments.
Activate license
If you have a Pro or Elite subscription, you can activate your license to save an additional 3% on fees.
- If you haven’t already done so, install and activate Business Directory Premium.
- In your WordPress admin, go to Directory → Settings and authorize your license to save on the additional fees.
Connect to Stripe
- Go to Directory → Settings → Payment → Stripe
- Click on the Stripe sub-tab
- Toggle on Enable Stripe
- Connect your Stripe account to the plugin using the Connect to Stripe button.
- To authorize the connection, you will be redirected to connect.stripe.com, where you can log in and select your Stripe account.
- After completing the required steps in the Stripe wizard, you will automatically be redirected back to your site. To confirm a successful connection, look for a green checkmark with the text Connected where the button was located.
- Now you are ready to start collecting secure payments. All the webhooks are covered, and need no additional setup.
- (Optional, but recommended) Connect your TEST Stripe account to the plugin.
- (Optional, but recommended) Put the payment gateways in test mode. Uncheck this when done testing!

Note: If you use Stripe with Business Directory Lite, Expired, or Basic license, a fee of 3% will be charged in addition to the Stripe fees. Stripe handles all of this, and no additional steps are required from the customer. To avoid paying the extra 3% charge, upgrade to Business Directory Pro or Elite.
Set up payments
- Go to the Directory → Settings → Payments page. Change currency display options, and turn on the abandoned cart emails, if desired.
- Create one or more Plans
- You’re ready to test payments. Logout as Administrator and attempt to place a listing. Verify that it goes through.
Payments will not be taken if you are logged in as the administrator!
Stripe settings
TEST – Connect the plugin to your Stripe test mode account to simulate test payments on your directory.
LIVE – Connect the plugin to your live Stripe account to collect payments from users.
Checkout Window Title – When users are taken to Stripe to make a payment, this will be the title of the window.
Verify billing address during checkout? – This option turns on a stronger version of Stripe’s fraud protection for you. It will require the user to enter a billing address for their credit card, and this must match the user’s credit card details. Use this if you’re concerned about fraudulent transactions made on your site.
Stripe module
The Stripe module is only required if you’re using API keys to connect to Stripe. However, we recommend using Stripe Connect instead, as API key support is now deprecated.
If you still see API keys in your Stripe settings, please disable the Stripe module and follow the instructions above to set up Stripe Connect.
Other payment settings
In addition to the Stripe-specific settings, you will have additional settings like this under the Payment → General settings sub-tab:

By default, Put payment gateways in test mode is enabled. When you are ready to take live payments please toggle this button off.
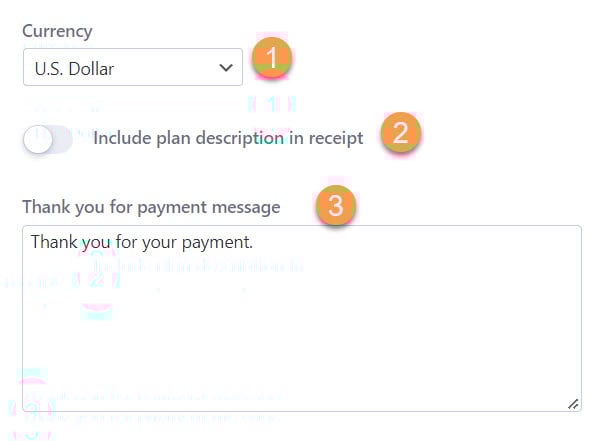
The remaining settings including Currency, Include plan description in receipt, and Thank you for your payment message are left up to you, depending on your preferences and needs.
— Premium Feature —
If you have the Discount Codes module installed, you can activate whether to allow discounts for listing purchases here as well.

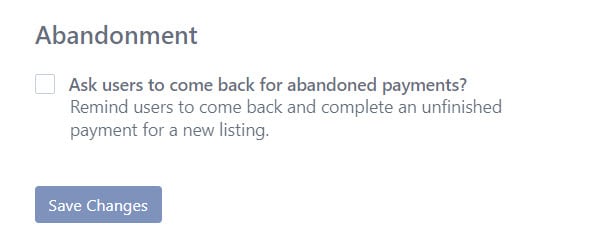
Also for those users with a premium plan, you can configure payment reminders for those who attempted to place a listing, but never completed the process (“Abandoned Cart Emails”):
Now you should be ready to receive payments via Stripe!
Are there any fees associated with using Stripe?
Yes. A 3% transaction fee will be charged for each payment processed if you use Business Directory Lite or your license does not include the Stripe add-on. It is in addition to the Stripe fees they may charge depending on how you use their platform. Please check out their pricing tiers for a breakdown of Stripe’s pricing. The extra 3% charge is not included on Pro or Elite plans. Upgrade to the plan that eliminates this fee.
Troubleshooting
If a Stripe payment is successful but the listing remains in a Pending state instead of being marked as complete, the site likely has Coming Soon or Maintenance Mode enabled.
These modes redirect all traffic to a holding page, which prevents Stripe from reaching the listing to finish the payment process. Disable Coming Soon or Maintenance Mode so Stripe can properly update the listing status.
